
Keeping a Roast Profile Journal on a Kaleido: A Practical Guide from Data Logging to Storytelling
If you’re roasting on a Kaleido Sniper and only saving curve screenshots to a folder, you’re using half the machine. Kaleido’s real distinction isn’t that it records data—plenty of roasters do that—it’s that the quartz-tube heating’s near-instant response makes real-time intervention a repeatable, reviewable, teachable craft. Write that craft up as a blog, and you have a Roast Profile Journal with actual readers and actual stickiness.
This article is for Kaleido users and addresses one thing: how to turn the curves inside your machine into content people want to read and can use.
Why Kaleido Is Unusually Suited to a Roast Journal
Traditional gas drum roasters carry significant thermal inertia. You open the gas valve and bean temperature takes tens of seconds to respond. By the time you see RoR sag and add heat, the window has often closed. Kaleido’s carbon-fiber infrared quartz-tube heating element reaches ~200°C surface temperature almost instantly, meaning the moment you drag the heat slider on the tablet, heat input has changed.
The consequence: your every intervention has a clear cause and effect. RoR drops, you add heat, the curve responds within seconds. That “what you see is what you get” control gives a roast log inherent narrative—readers can follow your decisions instead of guessing at curves they can’t attribute to anything.
Kaleido’s software ecosystem supports this style of writing. The tablet’s Kaleido system handles live intervention; Artisan records every adjustment bidirectionally over USB or Bluetooth. A good journal braids those two threads together.
What a Kaleido Roast Log Should Contain
Don’t write a product review, and don’t write a raw data table. Readers want: you had an idea, you executed it on the machine, the cup told you what happened, and here’s what you’d change.
Paragraph one: bean and intent. Document origin, process, altitude, moisture content. More important is why this bean earned this experiment. For example: “This washed Colombian came in at 10.2% moisture with high density. I wanted to test whether, on the Kaleido, pushing post-first-crack development from 18% to 22% could add body without losing the citrus acidity.”
Paragraph two: plan and key landmarks. Kaleido’s real-time control means your plan should be a framework, not a script. Record charge temp, TP, yellowing, first crack, drop temp. But focus on which landmark you planned to intervene at, on what signal, and with what action. Kaleido’s own guidance offers a reusable three-phase logic: from turning point to end of drying (steady climb, small heat bumps each time RoR drops ~15%), from end of drying to just before first crack (drop heat ~5% per 5°C rise, add airflow ~5% per 10°C rise), and after first crack (moderate airflow increase to clear smoke, but don’t slam it open—a sudden drop in hot-air temperature strips heat from the bean surface and creates the outside-underdeveloped, inside-overdeveloped defect). Write your log as one concrete application of that framework.
Paragraph three: the curve and the “surprises.” An Artisan screenshot is necessary, but don’t just post the image. Circle the inflection on the RoR curve and explain: what you saw, what you did, how the curve answered. For example: “RoR began flattening around 185°C; I pushed heat from 55% to 65% on the tablet. Because the quartz tube responds fast, RoR began climbing again after roughly 8 seconds—no lag-induced overshoot like you’d get on a traditional drum.”
Paragraph four: cupping results and the next batch’s adjustment. This closes the loop. Write in specific sensory language: was the acidity bright or sharp? Was sweetness early or in the finish? Did you hit the “pale outside, dark inside” defect Kaleido users have reported? Then give an actionable adjustment: “Next batch I’ll drop post-first-crack heat by 5% and raise airflow from 40 to 50, targeting a 20% DTR to see if I can remove the slight astringency in the finish.”
Three Log Topics You Can Start Today
Topic one: the DTR triple roast. Same bean, same charge temp, changing only the post-first-crack heat decay rhythm—three batches at 16%, 20%, and 24% DTR. Post the three curves side by side and write up the cupping differences. People in the Kaleido community are doing versions of this, but structured, public comparison logs are still scarce.
Topic two: documenting the “side effects” of airflow intervention. A common Kaleido mistake is slamming airflow open after first crack. Dedicate a log to testing it: 40% vs 70% airflow after first crack, recording RoR’s immediate response and the final body difference in the cup. Far more persuasive than abstractly explaining “airflow affects development.”
Topic three: the failed-batch autopsy. Write “How I Roasted a Baking-Paper Taint into an Ethiopian on the Kaleido.” Post the curve, mark the RoR rebound that shouldn’t have been there, then review: was charge temp too high, or did I fail to cut heat decisively during Maillard? Kaleido’s margin for error is cheap—an M1 Lite batch runs only 50–200g—so failure logs cost little tuition and deliver far more value to readers than success logs.
Practical Notes on Tools and Format
Artisan log files (.alog) can be shared on platforms like Roastetta, letting readers download your full curve and open it in their own Artisan. If your blog platform can’t embed interactive charts, at minimum list the key data points in a small table: time, bean temp, RoR, heat %, airflow %, drum speed. Kaleido’s tablet logs every adjustment automatically; exporting that data isn’t laborious.
One easily overlooked detail: weigh everything. Record charge weight and drop weight, then calculate weight loss. For the same bean at the same roast level, weight-loss variation beyond 1.5% means your profile consistency isn’t there yet. Put that number in every log and readers will trust your rigor.
One Last Thing
Kaleido’s design philosophy is written into its product logic: don’t predict, respond; don’t simulate, record. Your roast journal should take the same shape. Not a post showing off “how pretty my curve is,” but a journey readers can walk with you—decision, feedback, correction. Starting with your next batch, open a blank document alongside Artisan and write right after you drop. Three posts in, you’ll understand this machine better than ten reviews could teach you.
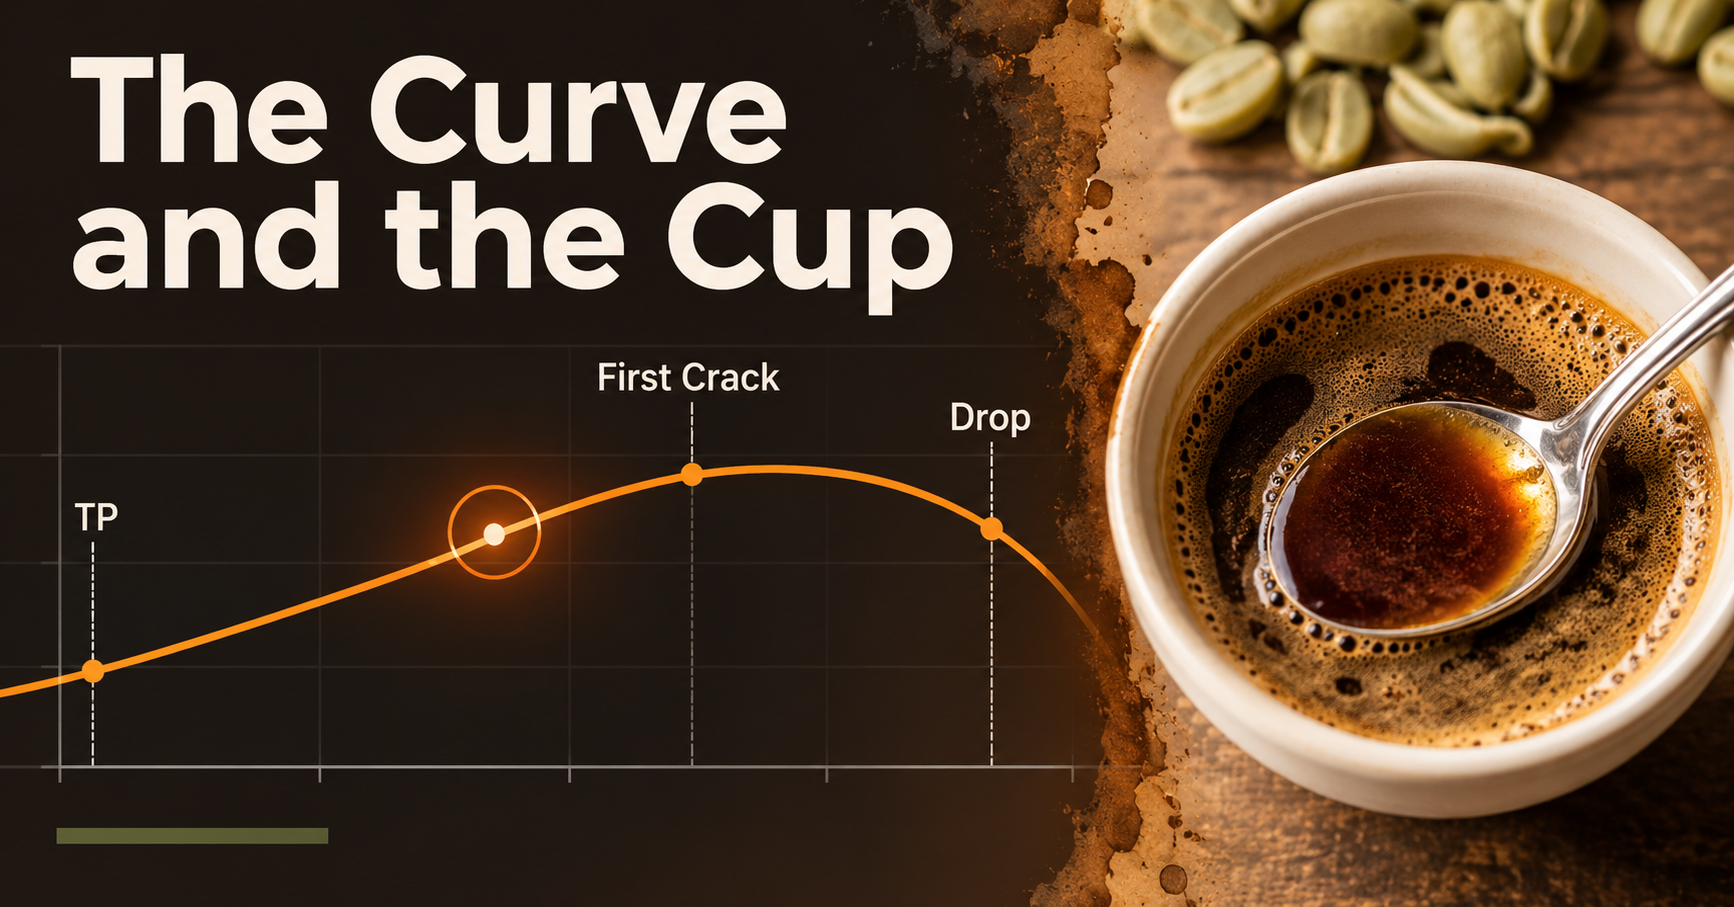
From Curve to Cup: Building a Roast Profile Journal on Your Kaleido
Subscribe to our emails
Join our email list for exclusive offers and the latest news.
[contact-form-7 id="eaf88b5" title="footer subscribe"]
0 Comments